Even local chickadees started avoiding my balcony. Nevertheless I managed to take a picture of one of them checking out my Pinterest-inspired bird feeders.

Since we already have seasons all mixed up... why not go back to Autumn?
Lovely warm evenings in my attic, with a cup of hot coffee.

I present to you:
My favourite knitted pullover so far!*

*it's my third pullover, so I'm not really that far...
Autumn
Mess
Make sure to read ENTIRE pattern before
you start.
I used the percentage method, but you
can also check out an online pattern generator, like this
one.
I strongly recommend making your own
swatch and adjusting numbers :)
GAUGE: My gauge was approx 12sts x
20rows for 10x10cm(4x4inch) square in stockinette stitch with 7mm
needles, but I'm not good with swatches, so you probably shouldn't
trust me.
I PATTERN
Body:
Cast on 60 st on smaller needles (5mm)
Rows 1-5: knit
Change to bigger needles (7mm) &
set up markers:
Row 6: k10 PM k20 PM k10 PM k20
(sleeve, front, sleeve, back)
Rows 7-46: increases!
Increases will be made on even rows
only by increasing one stitch on each side of every marker. This
will give you additional 8 stitches. I prefer kfb increase (knit
thorugh back&front loop of the stitch next to marker), but any
increasing method will do.
Continue until you have made 20
increases (46 rows). You should now have 220sts in total divided as
follows: 50-60-50-60
 |
| Neckline with first couple of increases |
Row 47: Remove markers as you go. Set
50sts aside to a piece of yarn, knit next 60st, place next 50 sts on
a piece of yarn, cast on 8 sts, knit 60, cast on 8 sts, join.
(136sts)
Continue work. You can either work the
sweater straight, or do some waist shaping.
When you reach desired length make at least 5-6 rows of seed stitch to prevent fabric from rolling up and bind off.
When you reach desired length make at least 5-6 rows of seed stitch to prevent fabric from rolling up and bind off.
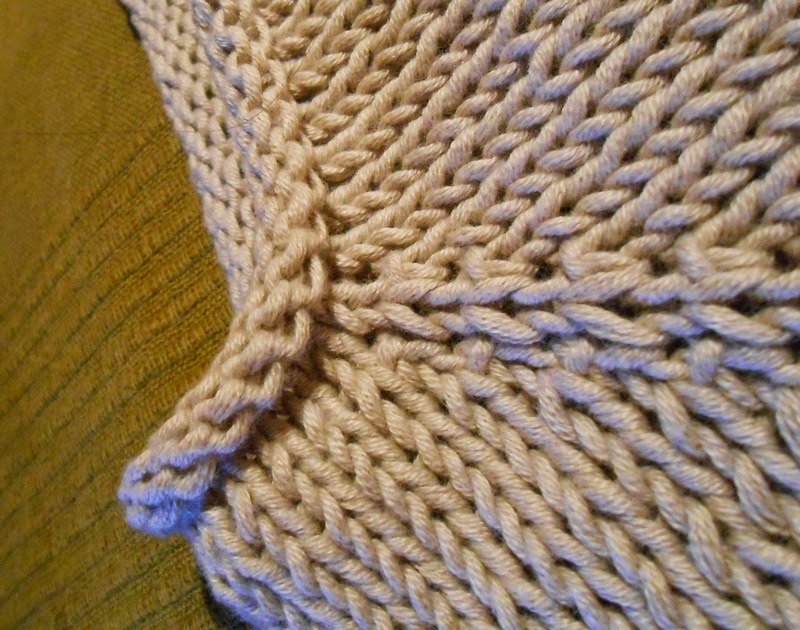
 |
| Edgeing - 5 seed stitch rows |
Sleeves:
knit 50 sts from scrap yarn, pick 4 sts
from body, PM, pick 4 sts, close circle
decrease every even row on both sides
of marker (I used k2tog and ssk here to make decreases lean neatly
towards the marker) – the more times you decrease the slimer your
sleeve will be. I did 7 decreases in total, so my sleeves are 44sts
each.
End your sleeves with seed stitch band,
at least 5-6 rows long. Mine has 14 rows. Bind off.

Weave ends in, You're done!
II BEADS

I used wooden 8mm beads with 2mm hole.
Make sure your beads are good quality! Cheap ones often have
multiple, tiny splinters inside that might drive you crazy. Also,
look for varnished beads since you will one day need to wash your
pullover.
Not into wooden marbles? Try something
else, but remember they shouldn't be too heavy.
You can also arrange your own pattern.

Mine starts in increases section and
goes all the way to bottom across the chest.
It took 130 beads. I placed them with
1.3mm hook. Took me some time to learn how to catch aran yarn with
hook this small but it was worth it!
I never placed beads on adjacent
stitches so they wouldn't stretch the fabric too much.
Enjoy!
©
Copyright for pattern remains with the designer. Intended for
personal use only.
Not
for commercial use.
Selling
items made from this pattern is not permitted.
©
Copyright M. Machowska - Escherichia, November 2014
PDF version, as usual, available on Ravelry- here.
Have a nice evening!
Gosia.
Gosia.
No comments:
Post a Comment